I’ve talked about fermentation quite a bit on this blog, from fermenting your cabbage to fermenting your chicken feed.
But fermenting tomato seeds?
Yes, it’s a thing, and I’ll show you the best way to save tomato seeds and increase germination rates by adding this one simple step to your seed-saving routine.
First, what is fermentation?
In a nutshell, fermentation is the process of good bacteria breaking down the structure of your food so they become more bioavailable.
Why is this important? Because even if you have the healthiest diet in the world, you aren’t “what you eat,” per se, you’re what you digest and absorb. Having your food more bioavailable means you’re getting more of the vitamins, minerals, and phytonutrients out of them.
When it comes to fermenting chicken feed, for instance, lacto-fermentation reduces the anti-nutrients found in the outer layers of grains, seeds, and legumes, making the food more digestible for your chickens.
Anti-nutrients are natural compounds found in most types of whole foods (including nuts, vegetables, and fruits) and various parts of plants (including roots, leaves, and seeds) that protect them from predators.
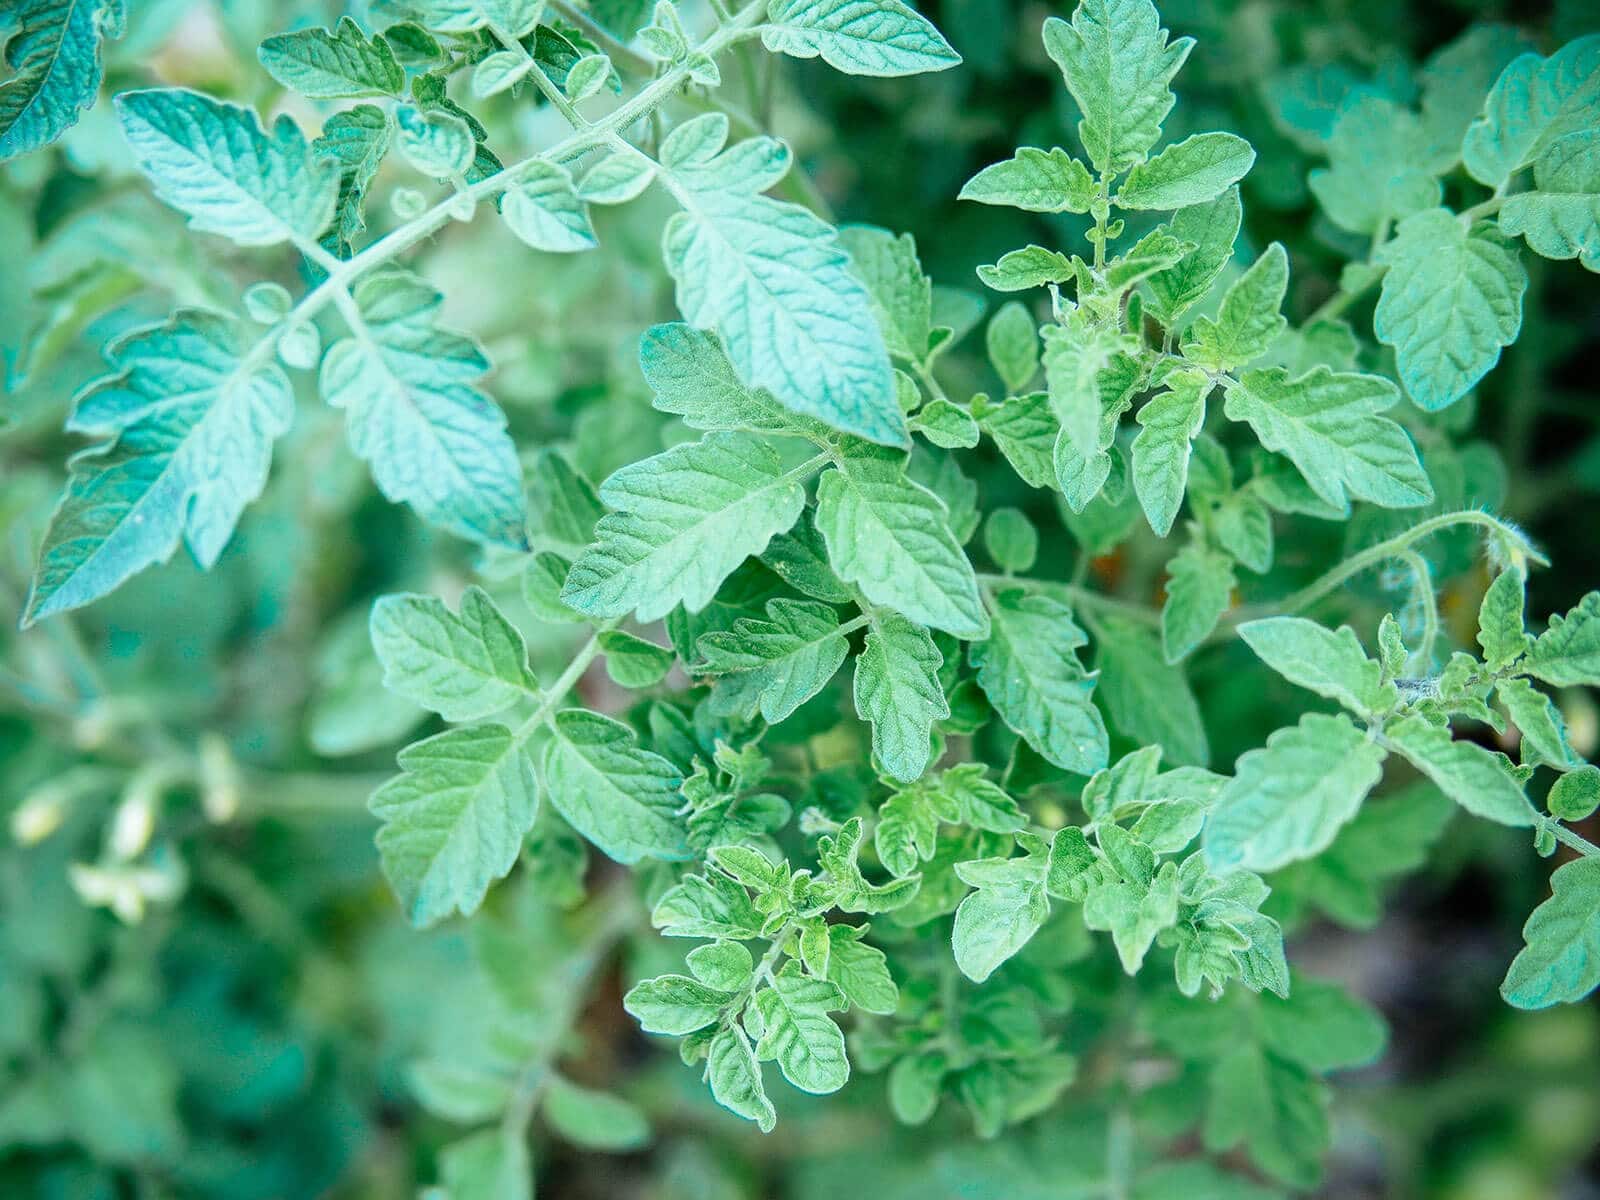
Since they can’t run or hide from danger, plants have much subtler defenses that can kill or weaken their enemies.
One of these strategies is producing anti-nutrients to guard against bacteria, fungi, insects, animals, and even humans. The anti-nutrients lock up the nutrition of a plant in a way that our digestive systems can’t break down, essentially “starving” us of certain nutrients.
Seeds, in particular, contain anti-nutrients as a fail-safe from being eaten before they can germinate and produce the next generation of plants.
Read more: How to Soak Seeds and Speed Up Germination Time
That means every seed you save from your plants comes with a built-in survival mechanism that helps keep it viable until the proper growing conditions are present. (And also why certain seeds can be harder to germinate than others.)
This is especially true of “wet” seeds from tomatoes (as well as cucumbers, melons, cucamelons, and squash), which are covered with an extra protective layer on the seed coat that inhibits germination.
Worth a read: This Is What Happens When a Seed Germinates
To speed things along in the garden, tomato seeds benefit from the simple process of lacto-fermentation before you store (and eventually sow) them.
How does fermentation help with tomato seeds?
In the outside world, tomato seeds naturally ferment when over-ripe tomatoes drop from their vines and rot in the ground. The seeds sit in the soil where bacteria are actively working, waiting for days, weeks, or even a whole year for just the right environmental conditions before they sprout.
This is why it sometimes seems like tomatoes germinate best when we have nothing to do with it! These tomatoes happily volunteer all over the yard, displaced from undigested compost or random bird droppings.
We can mimic this natural process by fermenting the seeds ourselves when we collect them from the fruits.
Lacto-fermentation removes the germination-inhibiting substance on the seed coat, that gooey gel sac that surrounds each seed. Fermenting also kills certain seed-borne diseases (as good bacteria overtake bad bacteria), which helps promote the health of seedlings and the vigor of mature plants.
During fermentation, bad seeds generally float to the surface of the water while good, viable seeds sink to the bottom.
It has also been said that properly fermented, washed, dried, and stored tomato seeds can last up to 10 years! Talk about passing down a true heirloom to your kids.
Read more: The 30 Best Tasting Heirloom Tomato Varieties (By Color!)
Do you need to ferment tomato seeds to make them viable?
In case you’re wondering, no, you don’t need to ferment tomato seeds.
Non-fermented seeds have sprouted just fine for me… and they also have not. Often, it’s a matter of luck, timing, and genetics.
You can save tomato seeds the same way you’d save other wet seeds by rinsing and drying them, and leave the fermenting out of it completely.
But… If you can increase your chances of germination, have it happen much sooner in less than ideal conditions, and improve the health of your future plants, fermentation is too easy not to try.
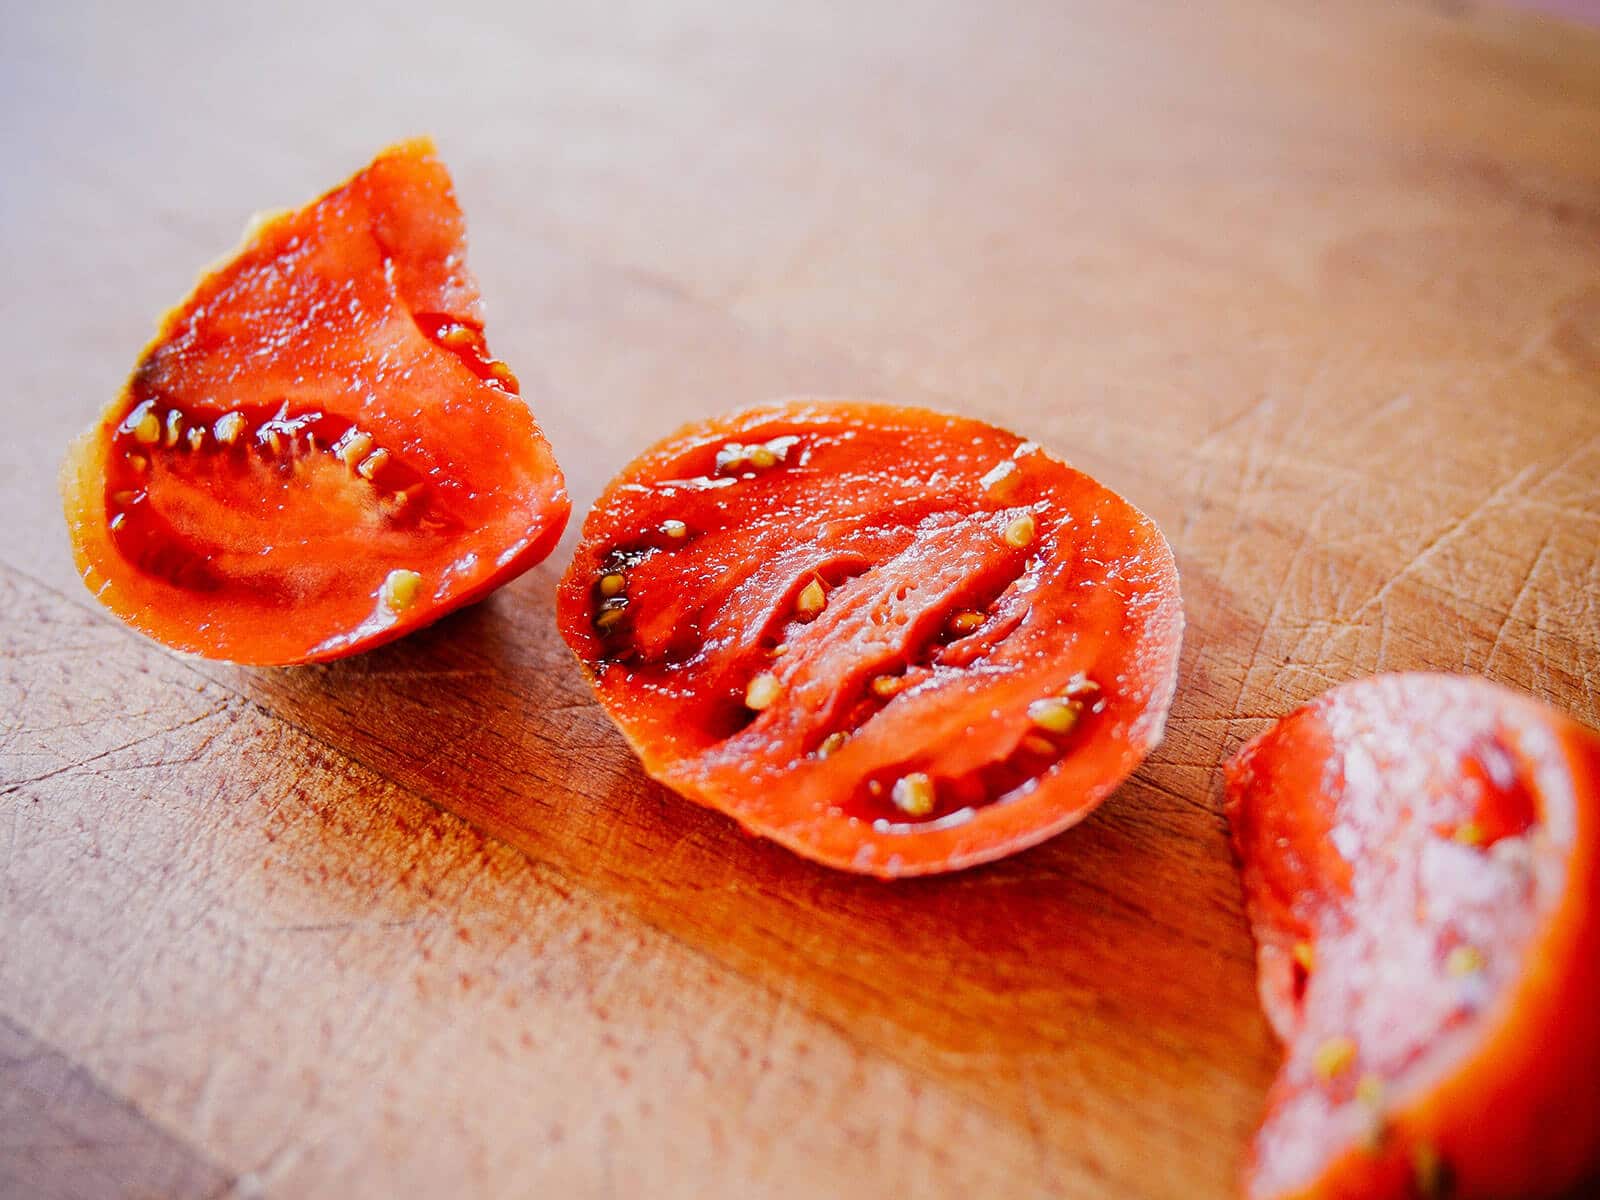
How to ferment and save tomato seeds
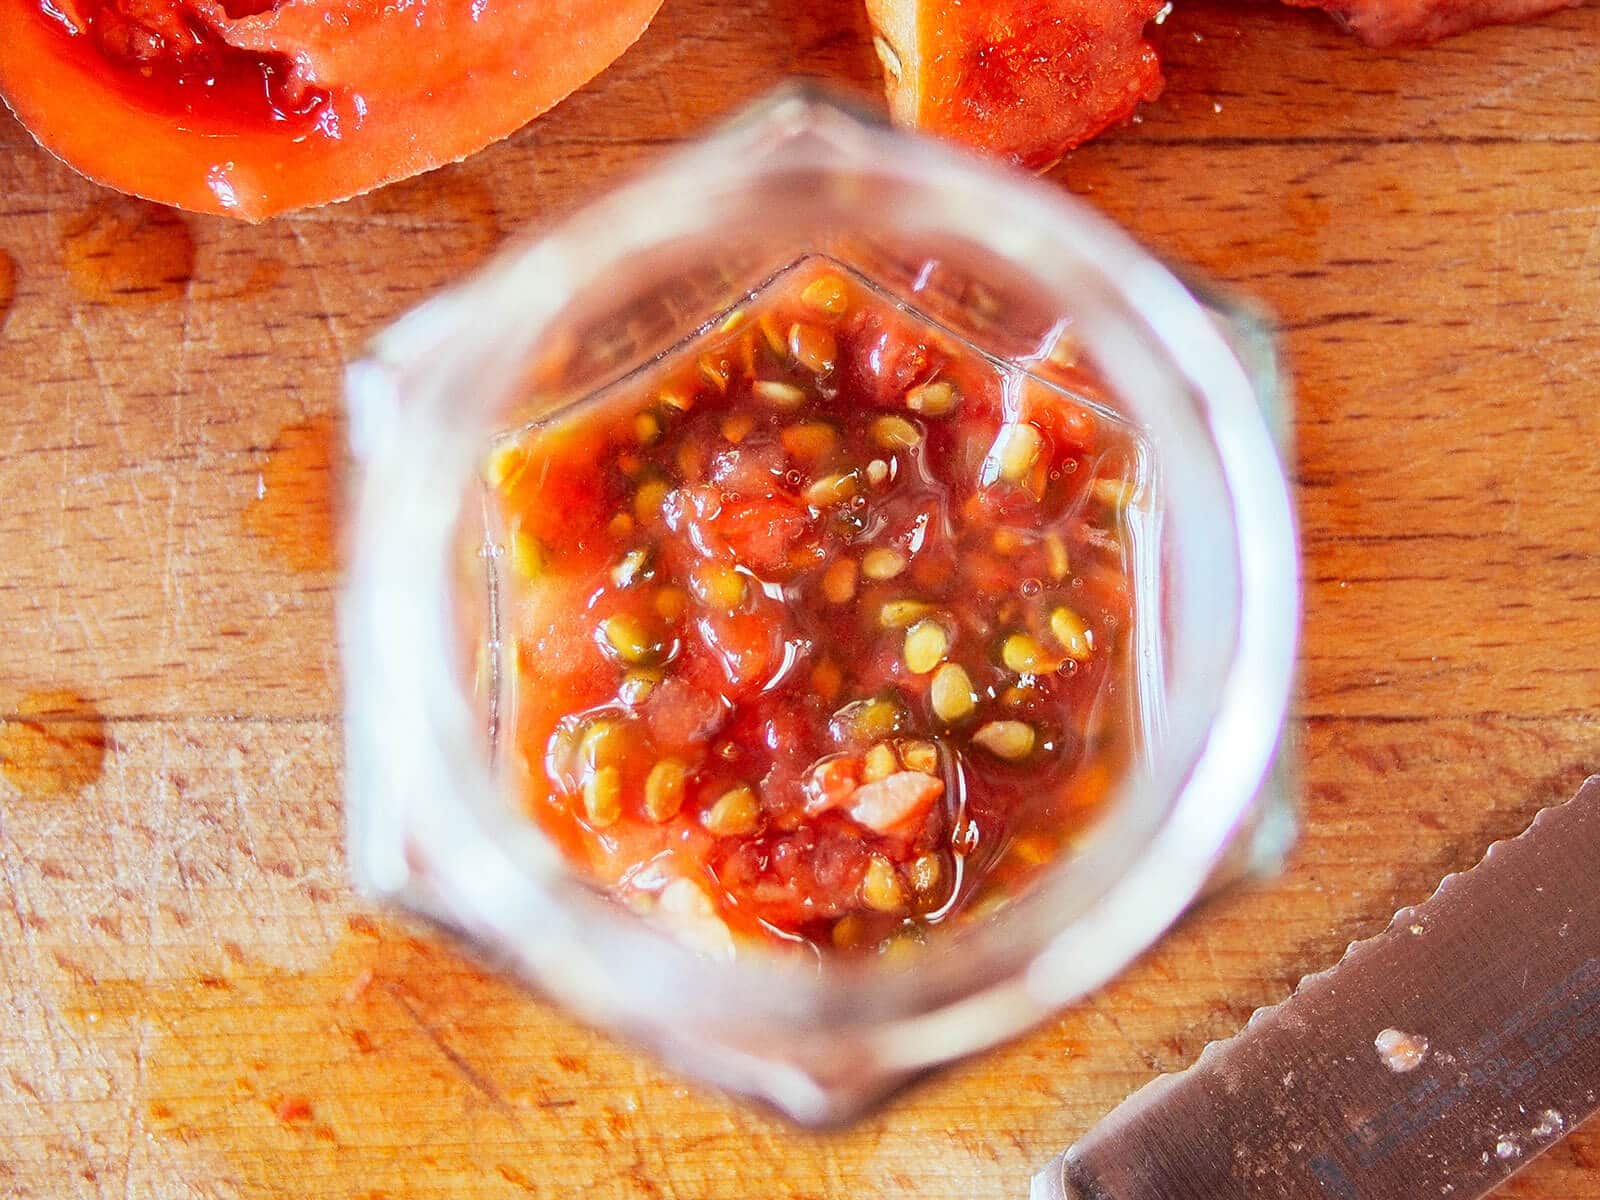
To begin fermenting, squeeze or scoop the seeds (with accompanying gooey stuff) out of fully mature tomatoes into a clean, small jar. There’s no need to separate the seeds, but do try to remove as much of the pulp as possible.
I say “mature” instead of “ripe” because you can still get viable seeds out of a green tomato that’s fully developed.
How can you tell if a tomato is fully developed? Cut into a full-grown fruit and look at the seeds; if the gel has formed around the seeds, then the seeds are mature.
What are some signs that tomato seeds are not mature yet?
- You don’t see the gel around the seeds
- The seeds are easily cut with a knife
- You can bite into the seeds with your teeth
- Your fingers can easily slip the seed coat off the seed
In any of those instances, the seeds are not ready and should not be saved.
To eliminate any possibility of immature seeds, simply pick your tomatoes when they have a little color to them. (Though I do recommend waiting for your tomatoes to ripen on the vine or ripening them indoors first, just so you don’t “waste” a perfectly good tomato.)

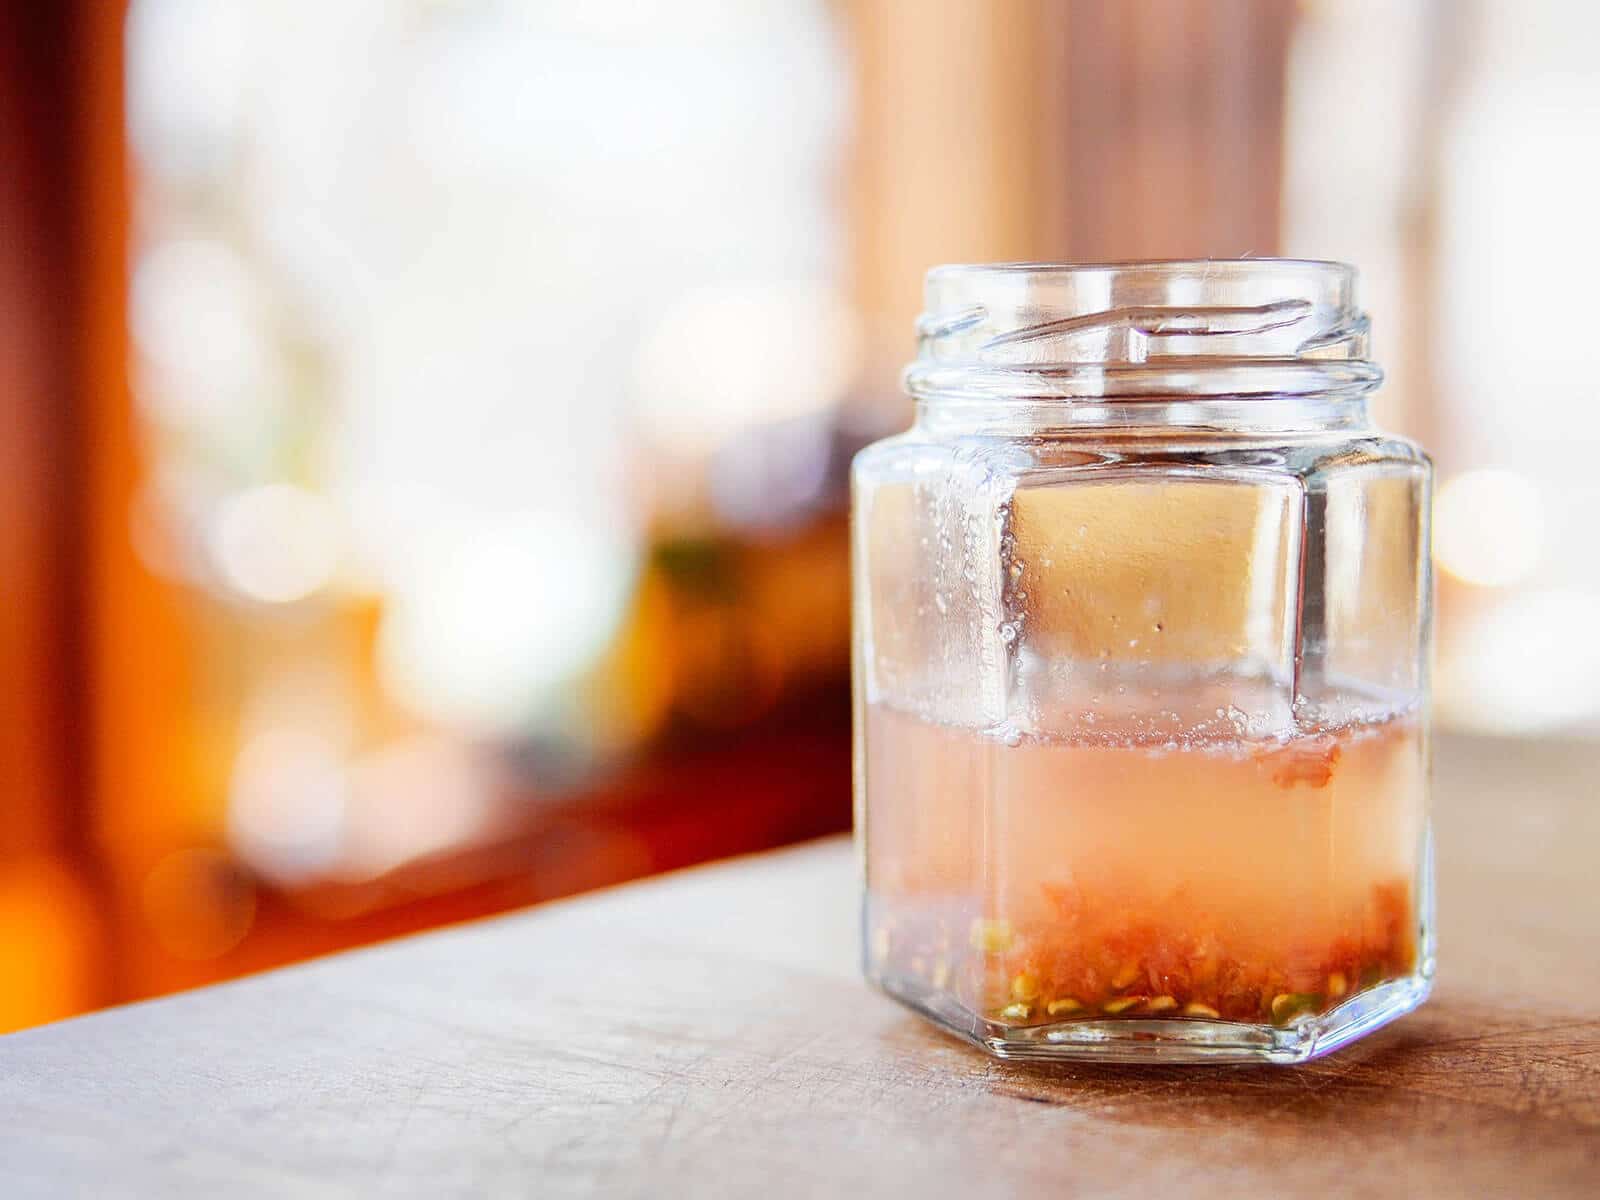
Cover the seeds completely with at least an inch of dechlorinated (or filtered) water and loosely place a lid over the jar while the whole thing is brewing.
Do not seal the jar tight, as you want to leave some airflow for the fermentation gases to escape.
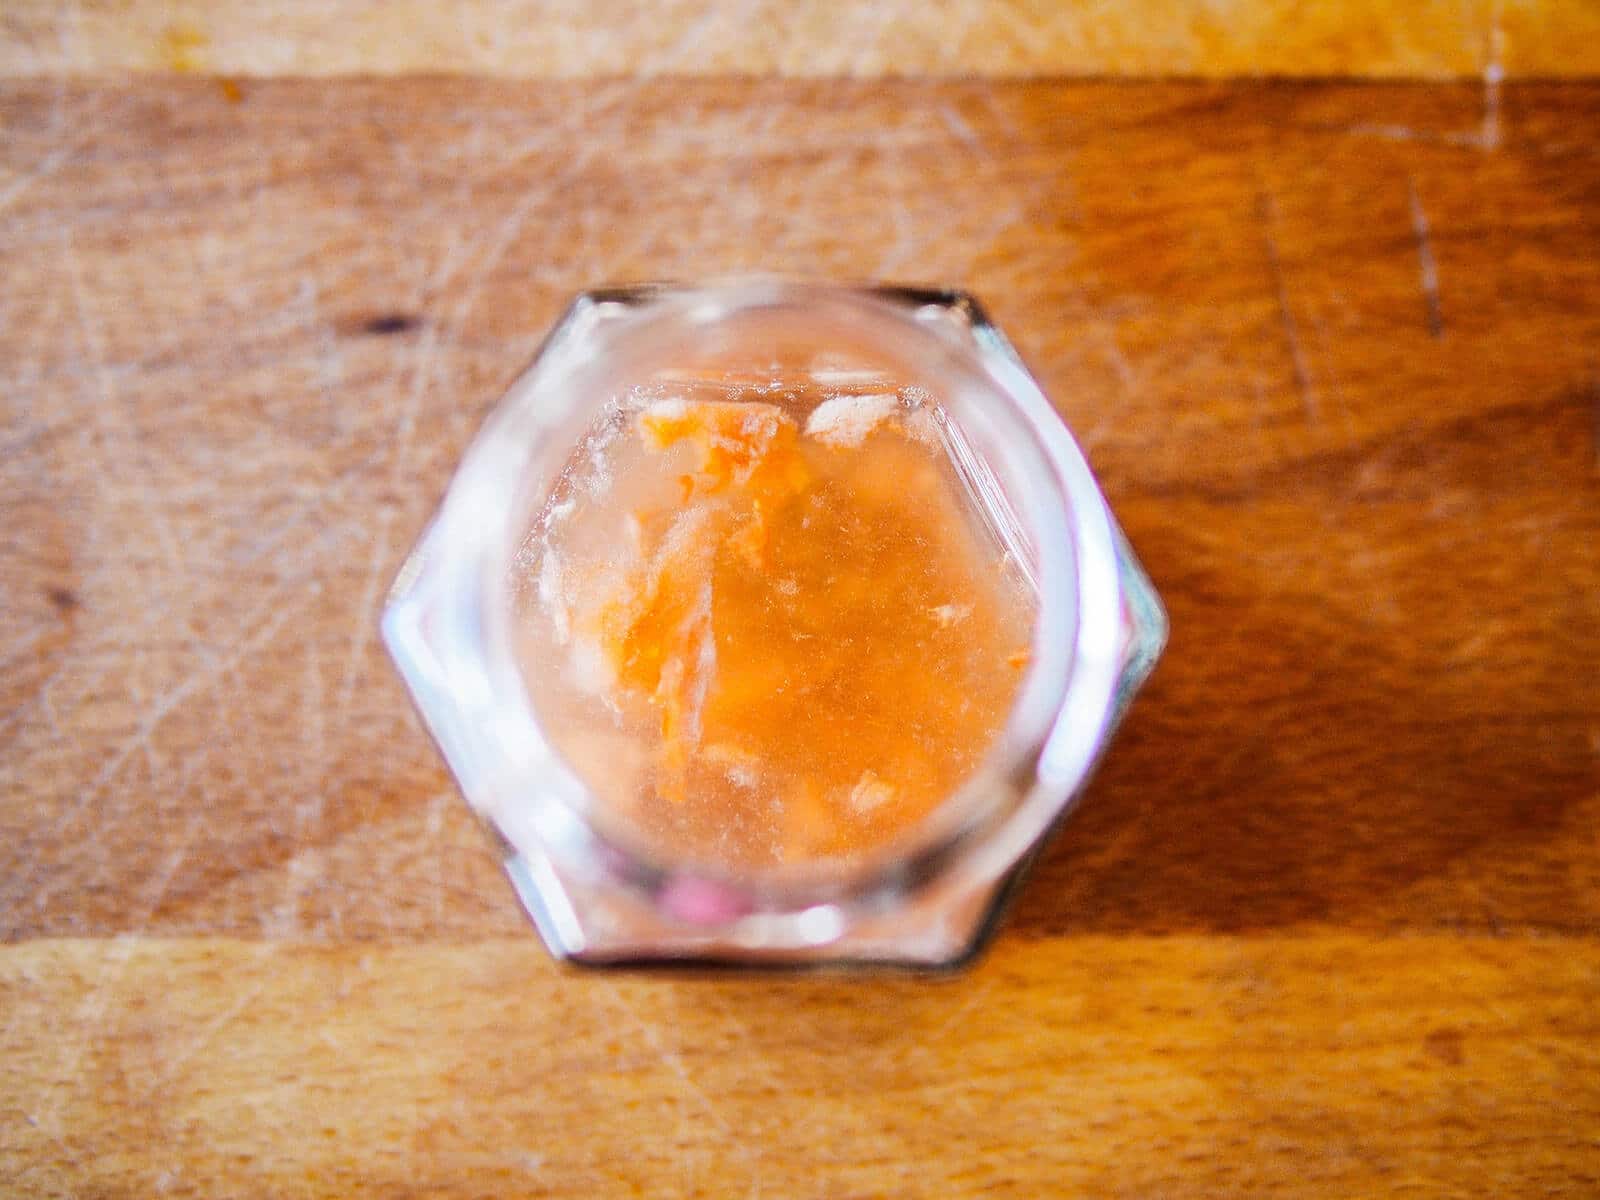
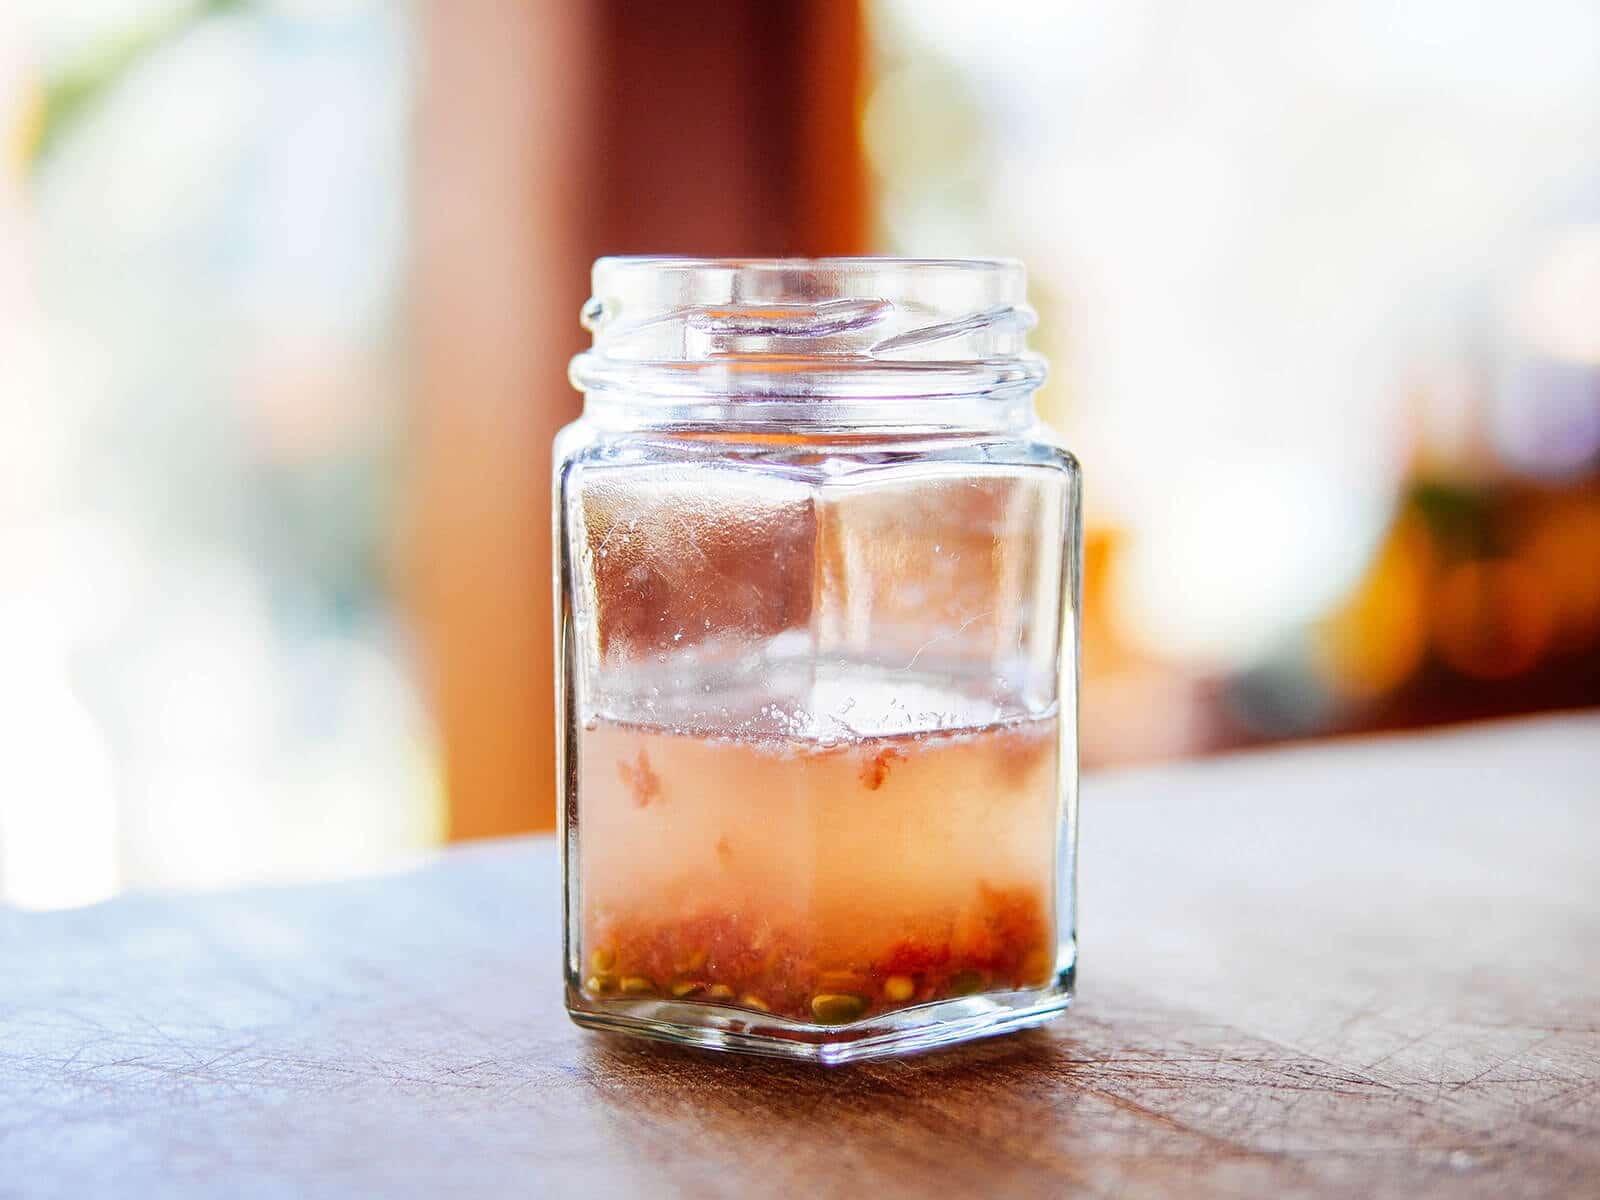
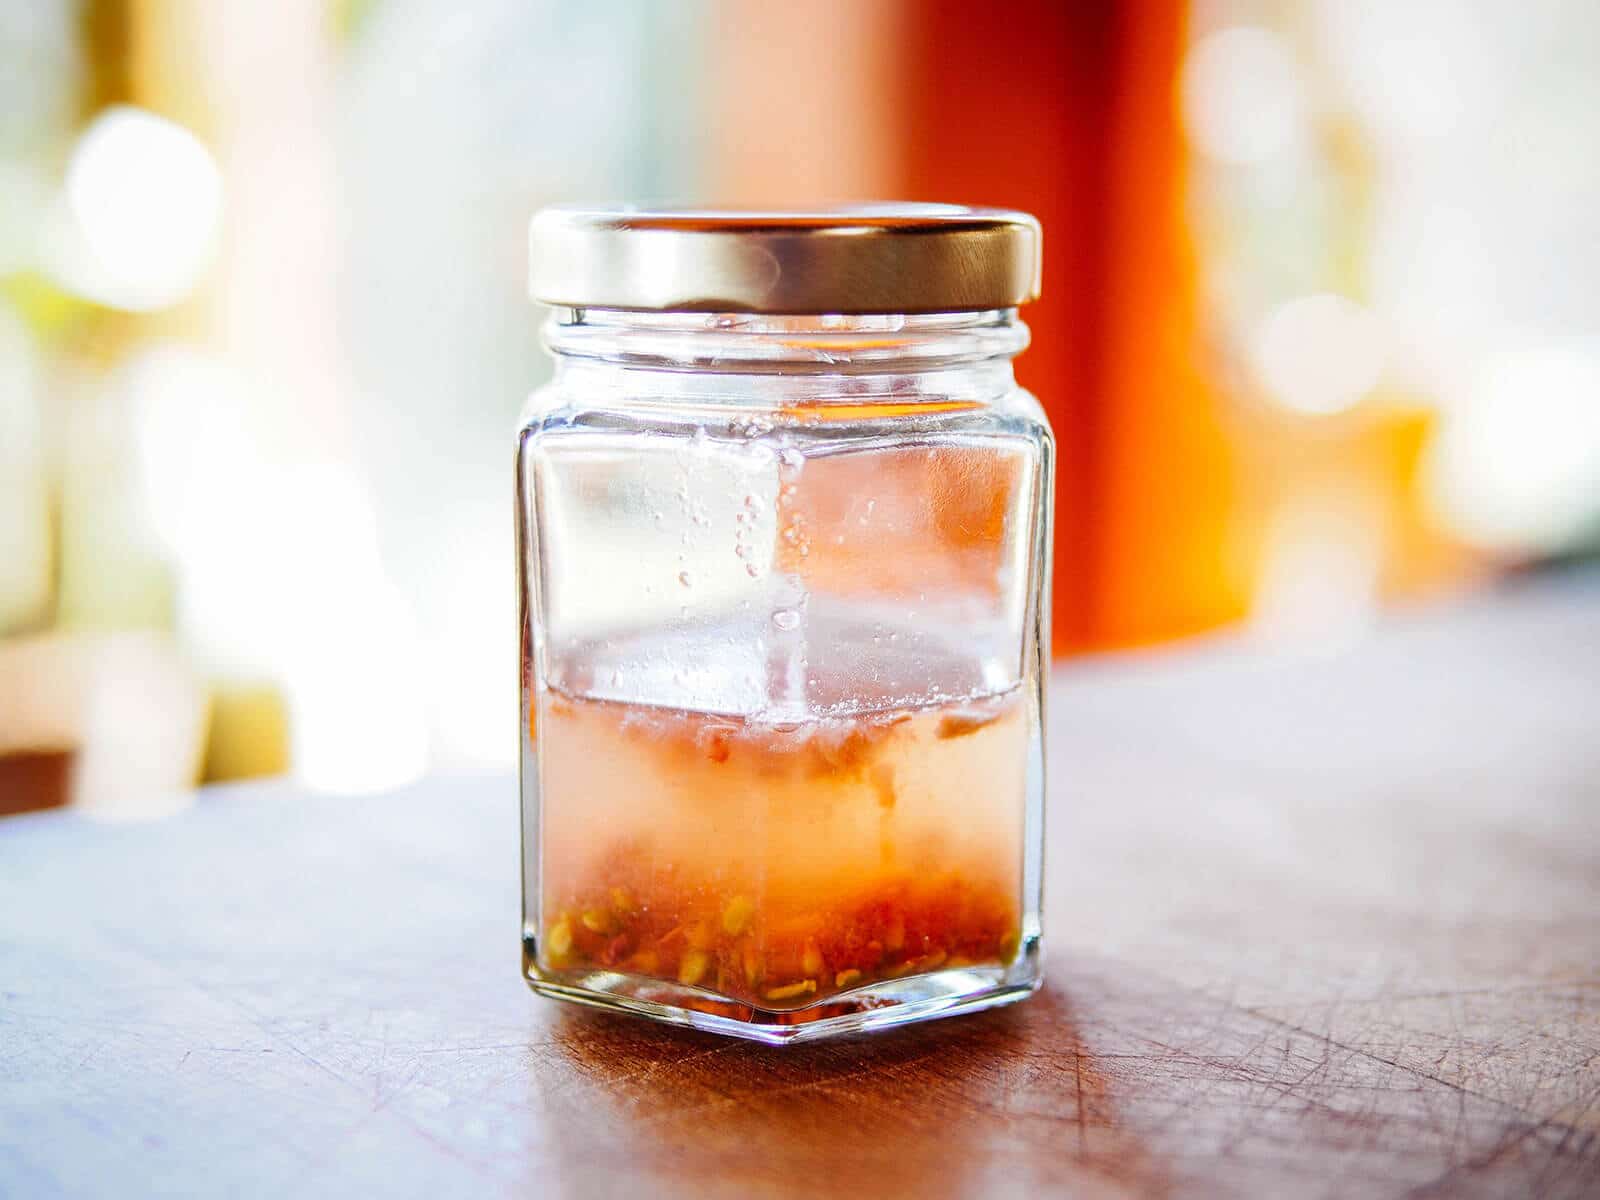
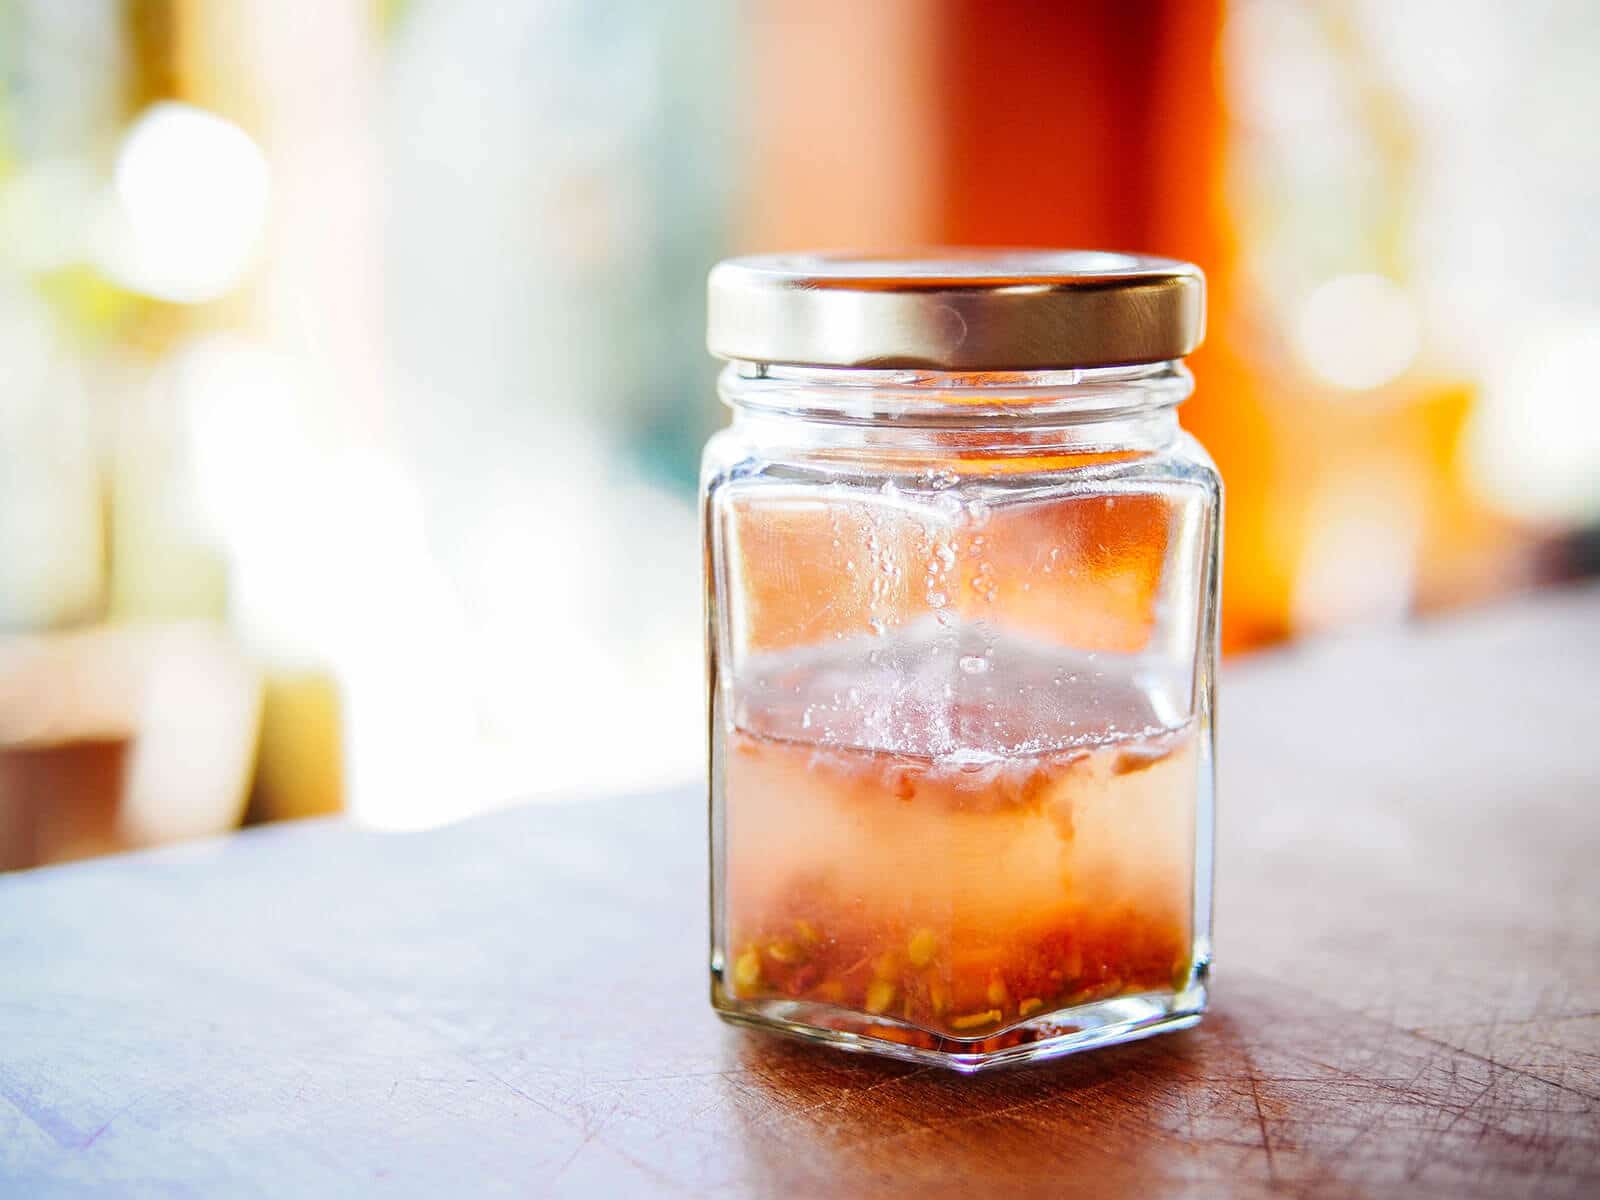
Within a day or two (more or less, depending on your ambient room temperature; warmer temps move the fermentation along quickly), a frothy white film will start to form on the surface of the water. It will smell slightly sour, like yogurt.
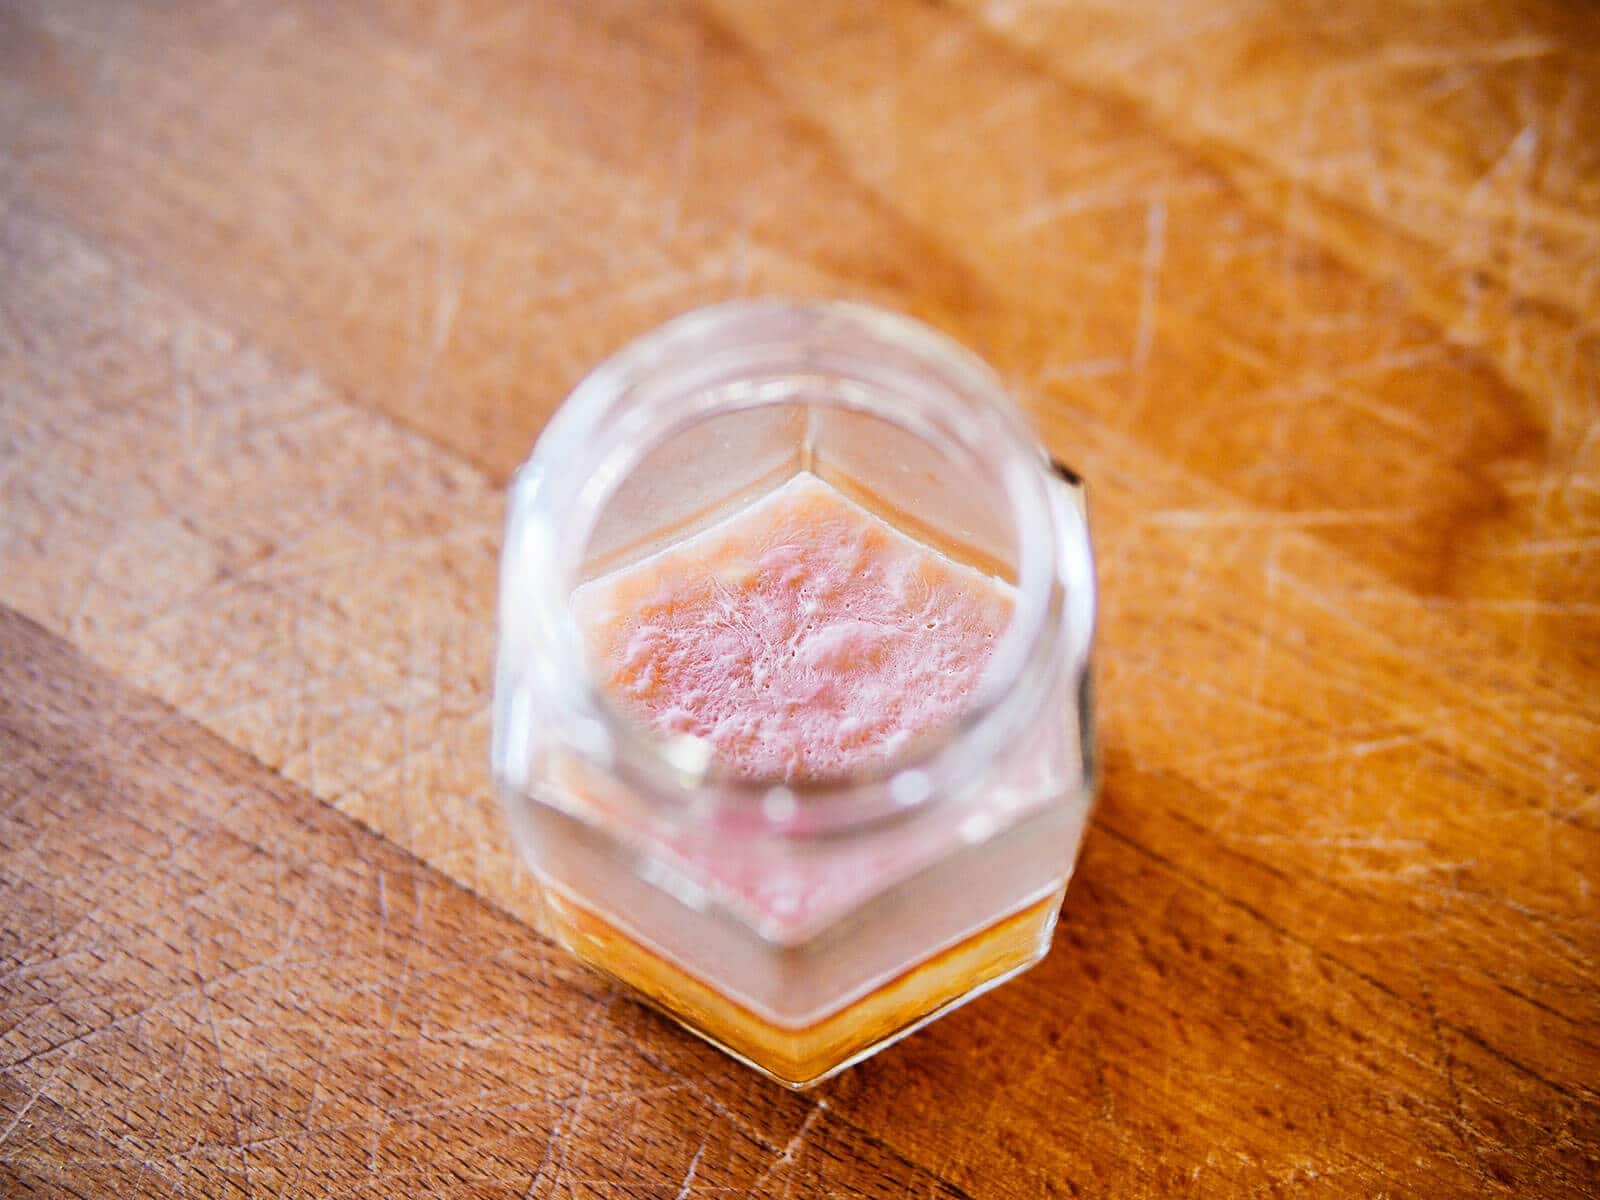
The cloudy white film isn’t mold; it’s harmless kahm yeast, a common indicator of lacto-fermentation in action.
While it doesn’t look like anything significant is happening, it’s also a sign of your potential new seedlings and next year’s salsa (which you can also ferment).
Once the white film has covered the whole surface (in another day or so), it’s time to wash away all that scum.
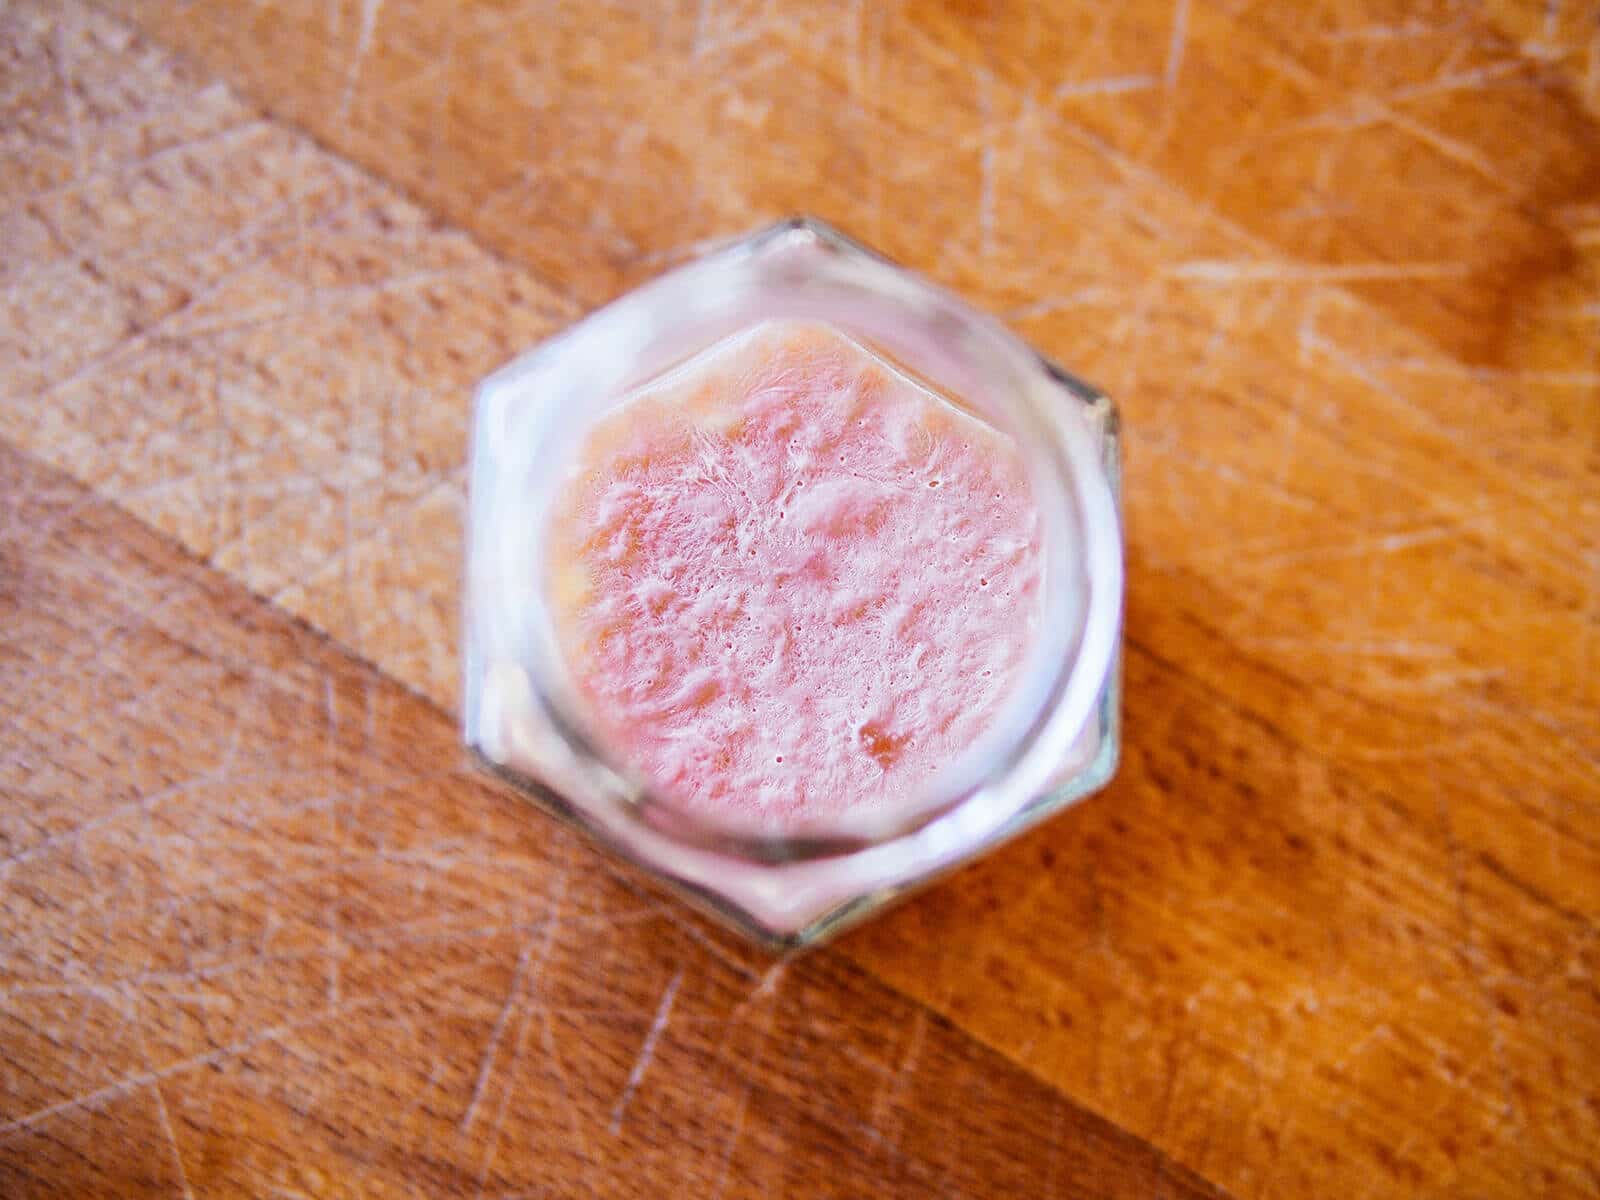
Quickly pour off the top layer of water (with the frothy stuff and bad seeds) so all that remain are your good seeds sunk at the bottom.
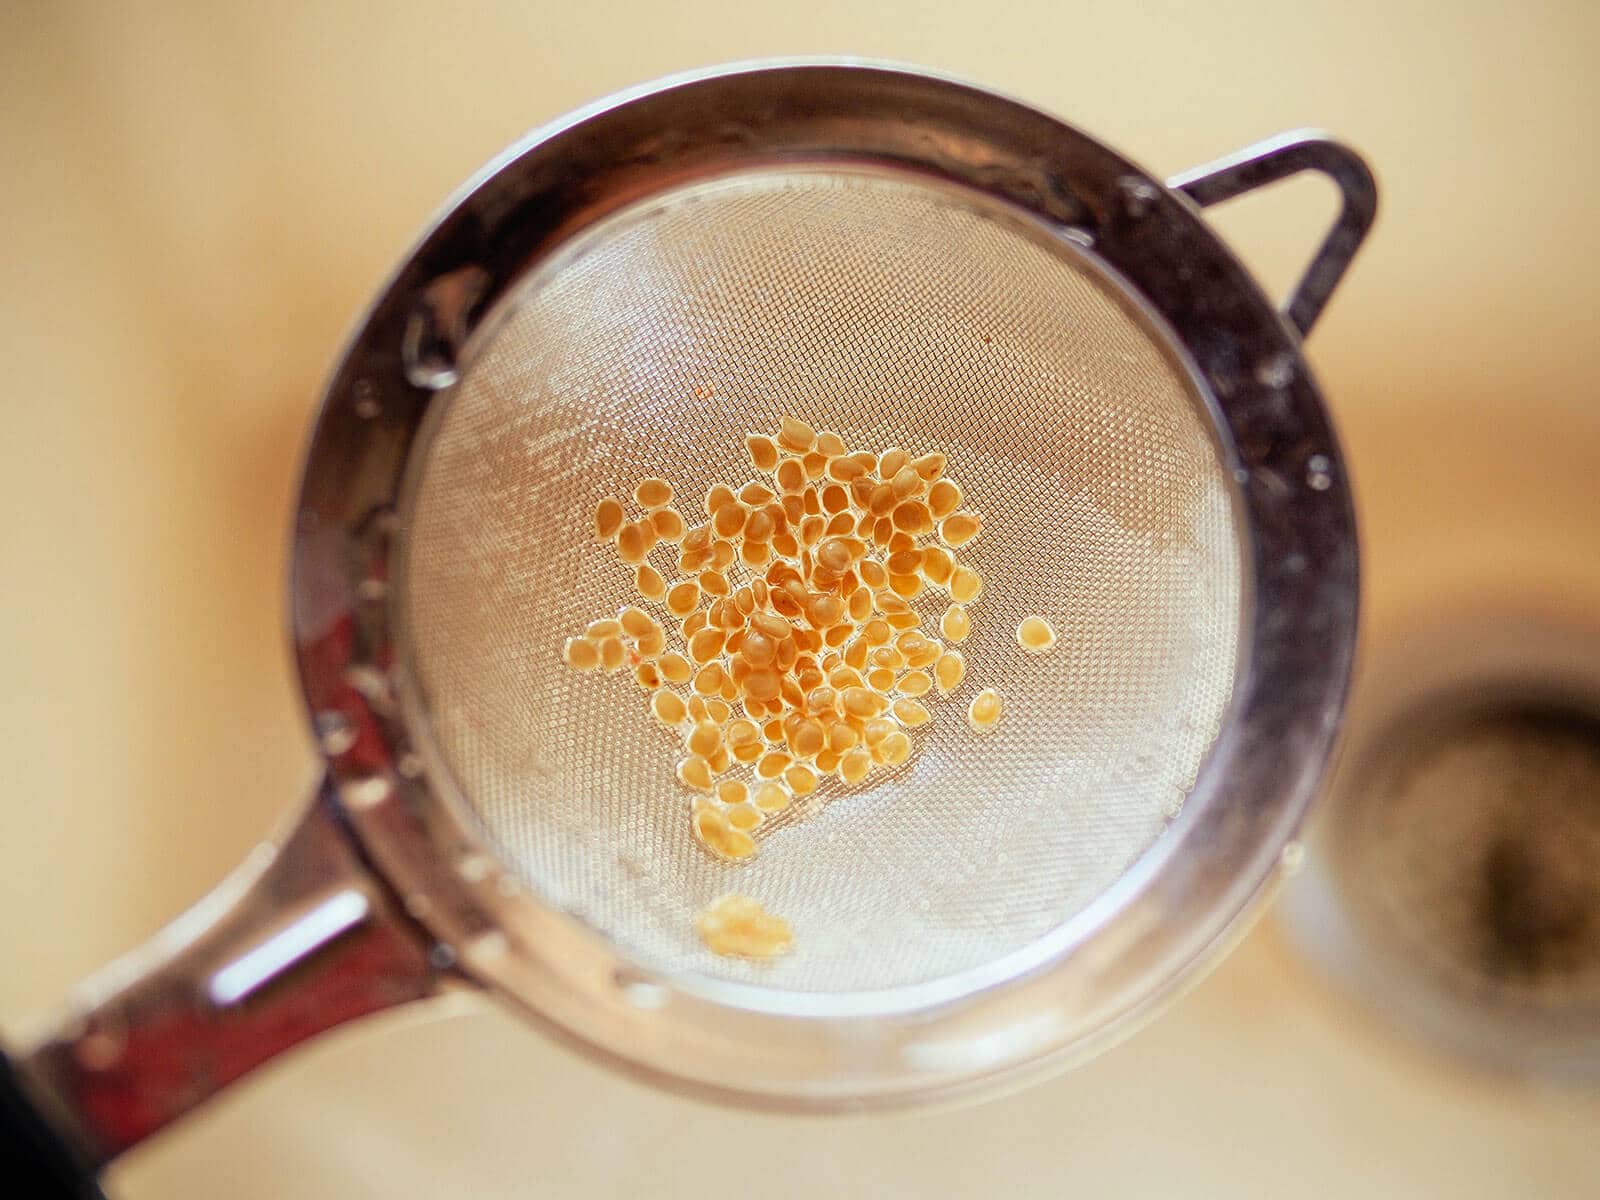
Wash the seeds as you normally would, under gently running water in a fine mesh sieve. You can firmly but carefully rub the seeds against the mesh to remove any sticky remnants.
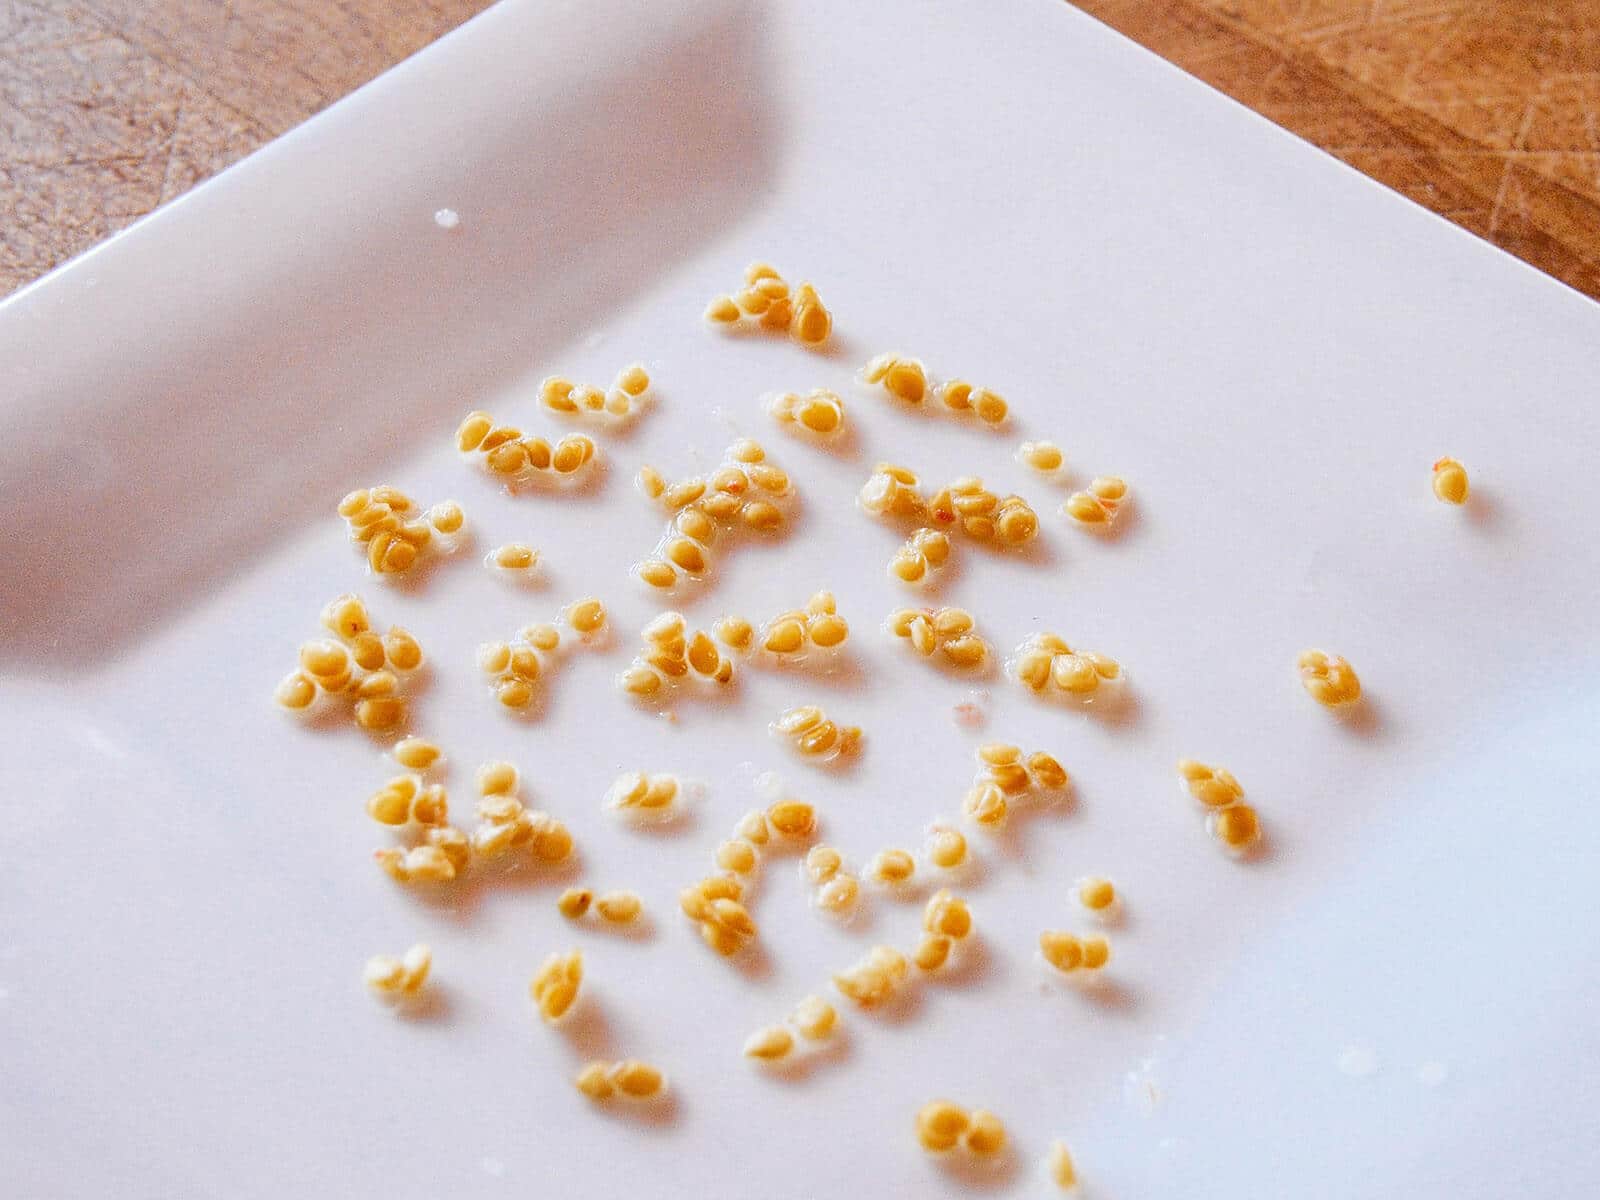
Spread the seeds out on a paper towel and pat them down to absorb most of the moisture, then transfer to a non-porous surface (like a small plate) to finish drying completely.
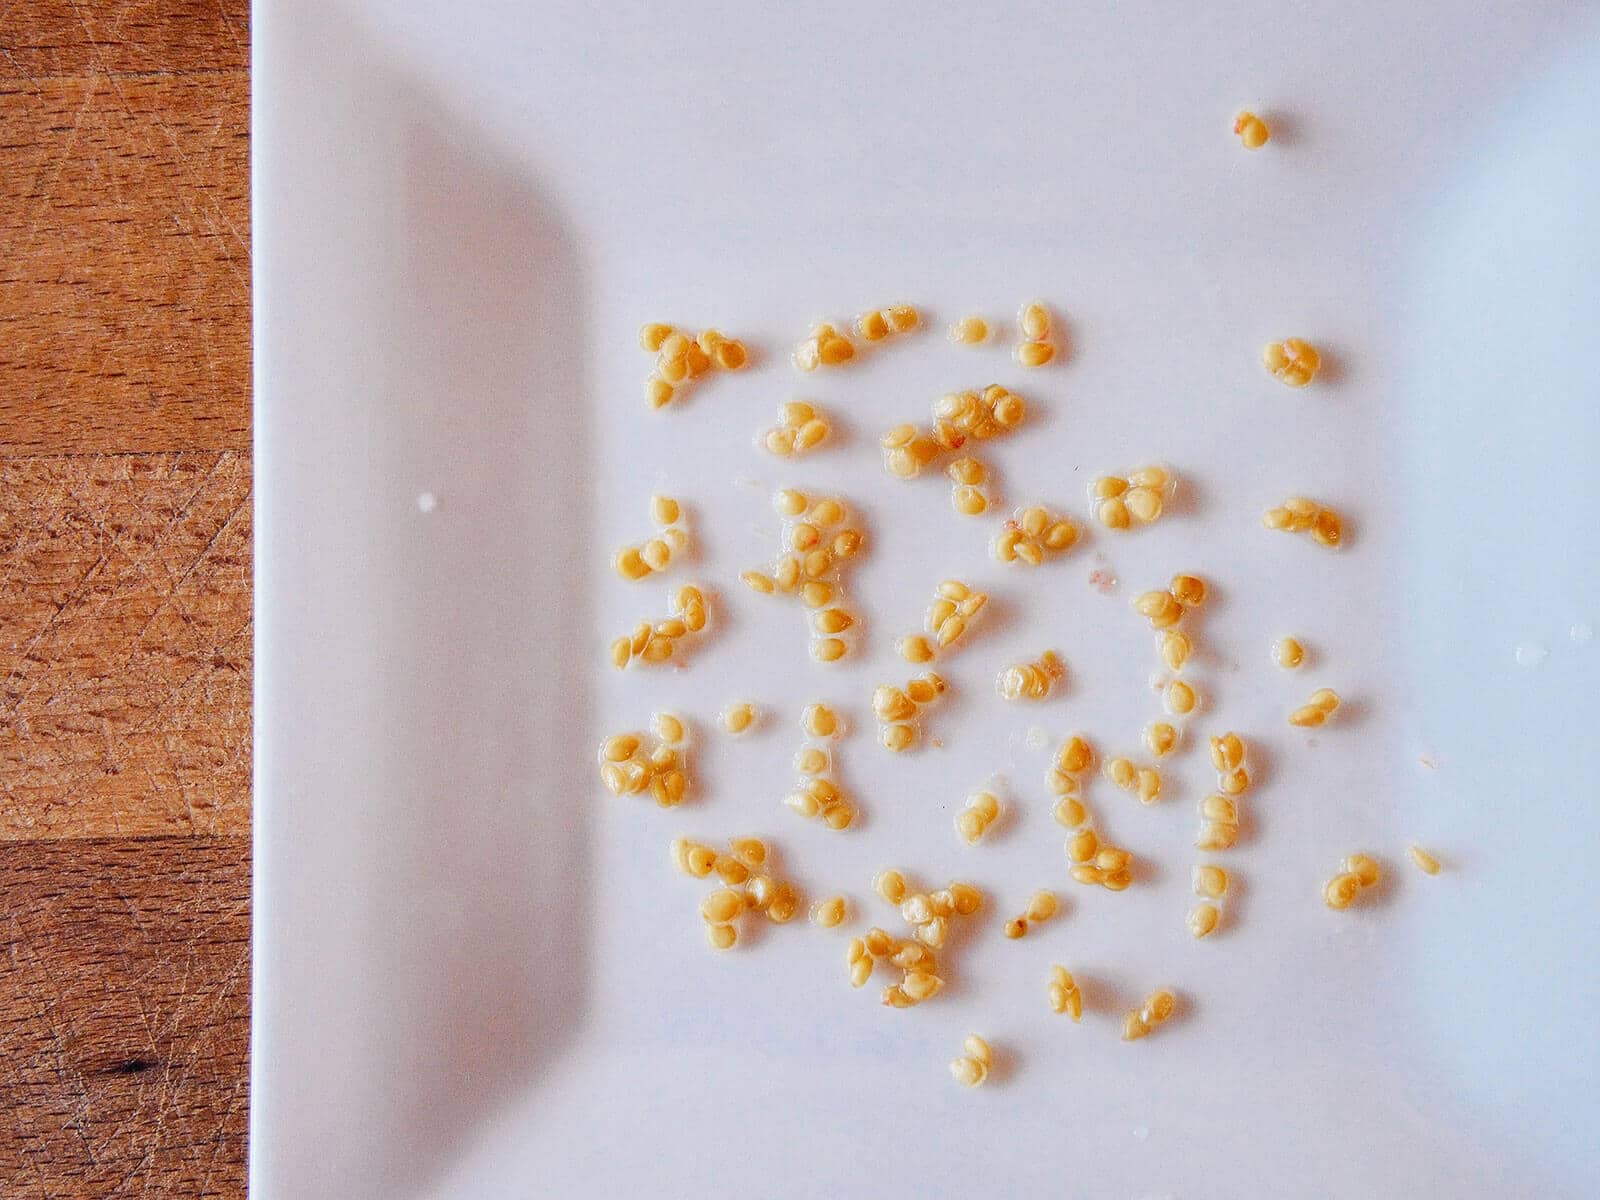
After a few days, store the dried seeds in a labeled and dated envelope in a cool, dark, and dry place. Your seeds are now ready for planting!
Want to save more vegetable and herb seeds from the garden? Check out my beginner’s guide on saving and storing seeds.
How to Ferment and Save Tomato Seeds
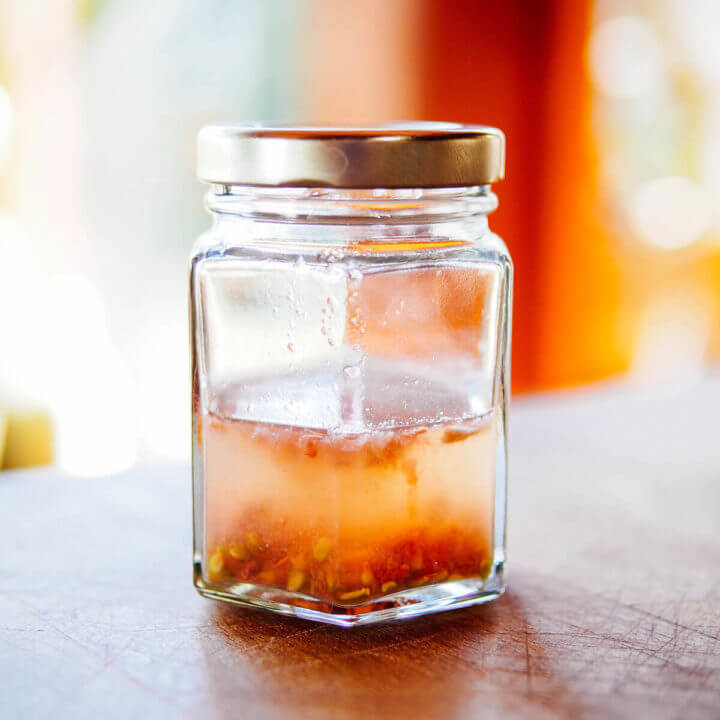
Learn how to save tomato seeds and boost your chances of germination by adding this one simple step to your seed-saving routine: fermenting tomato seeds.
Materials
- Fully ripe tomatoes
Tools
- Small jar
- Fine mesh strainer
- Paper towel
- Small plate
- Small envelope
Instructions
- Squeeze or scoop the seeds (with accompanying gooey stuff) out of fully ripe tomatoes into a clean, small jar. There's no need to separate the seeds, but do try to remove as much of the pulp as possible.
- Cover the seeds completely with at least an inch of dechlorinated (or filtered) water and loosely place a lid over the jar. Do not seal the jar tight, as you want to leave some airflow for the fermentation gases to escape.
- Within a day or two (more or less, depending on your ambient room temperature; warmer temps move the fermentation along quickly), a frothy white film will start to form on the surface of the water. It will smell slightly sour, like yogurt.
- Once the white film has covered the whole surface (in another day or so), it's time to wash away all that scum.
- Quickly pour off the top layer of water (with the frothy stuff and bad seeds) so all that remain are your good seeds sunk at the bottom.
- Wash the seeds as you normally would, under gently running water in a fine mesh sieve. You can firmly but carefully rub the seeds against the mesh to remove any sticky remnants.
- Spread the seeds out on a paper towel and pat them down to absorb most of the moisture, then transfer to a non-porous surface (like a small plate) to finish drying completely.
- After a few days, store the seeds in a labeled and dated envelope in a cool, dark, and dry place.
This post updated from an article that originally appeared on September 11, 2013.
More tomato growing posts to explore:
- Grow Tomatoes Like a Boss With These 10 Easy Tips
- How to Grow Tomatoes in Pots—Even Without a Garden
- How to Best Fertilize Tomatoes for the Ultimate Bumper Crop
- How to Repot Tomato Seedlings for Bigger and Better Plants
- Why and How to Transplant Tomatoes (a Second Time)
- Planting Tomatoes Sideways: How Growing in a Trench Results In Bigger Healthier Plants
- Florida Weave: A Better Way to Trellis Tomatoes
- Conquer Blossom End Rot and Save the Harvest
- Can You Eat Tomato Leaves? The Answer Will Surprise You
- Why Tomato Leaves Have That Unique Smell
- The Power of Fermenting and Saving Tomato Seeds
- 4 Fastest Ways to Ripen Tomatoes in the Garden and Beat the First Frost
- The 30 Best Tasting Heirloom Tomato Varieties (By Color!)
- 83 Fast-Growing Short-Season Tomato Varieties for Cold Climates
- The Best Time to Pick Tomatoes for Peak Quality (It’s Not What You Think!)
View the Web Story on fermenting tomato seeds.







I have saved tomato seeds following your fermentation advice, and planted 20 of them 3 weeks ago, there is one tiny seedling. I planted a slice of tomato a week ago .there are at least 5 seedlings coming up. So much for the theories of seed preparation and the inhibition of germination. What do you think went wrong?
Regards Richard